The Bright Pedal Pads were a nice touch on the Mopar 10, but having the parking brake pedal pad stock wasn't cutting it. Chrysler doesn't list this part, but thanks to the DiamlerChrysler merger and the LX/LC chasis being so similar to Mercedes line-up, their shelf part (under $20 is your ticket). I sourced mine when a club member, 6speedtitaniumr/t, made a run down to Houston and found a dealership with several in stock.
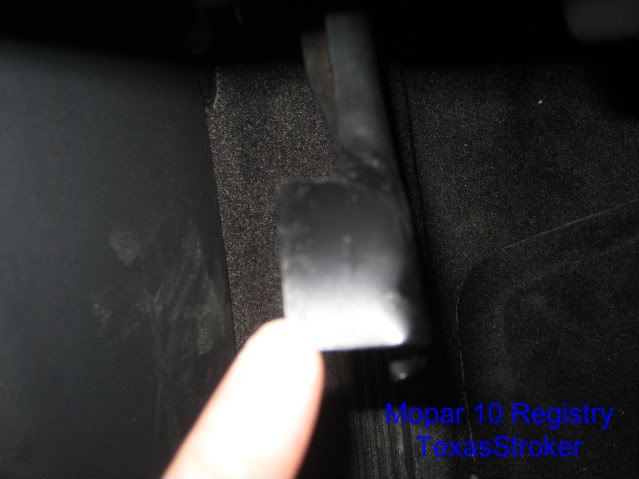
The issue here is the Bright Parking Brake Pedal Pad does not fit the Automatic Cars. I have no clue why Chrysler would use two different parking brake pedals, but where my friends with 6-speed Challengers just pop it on like the brake pedal pad, the auto cars pedal has a 90 degree bend and is not flat like the stick cars.
So, what are you to do? You can cut one side of the rubber and wedge the pedal pad on or you can make a custom mount.
I went the later route.
What you need to do is cut some light sheet metal (16-20 gauge should be fine) to roughly the shape of the pedal pad. Trim it a little smaller and test fit it. You want the pedal pad to fit over this plate just like it would a flat pedal.
Once that is satisfactory, mark the center of the mount and drill it out with a 1/8" bit (or appropriate size for your mounting solution). Now, take the drilled plate to your car and position it on the bare-metal pedal. Mark the center with a pencil.
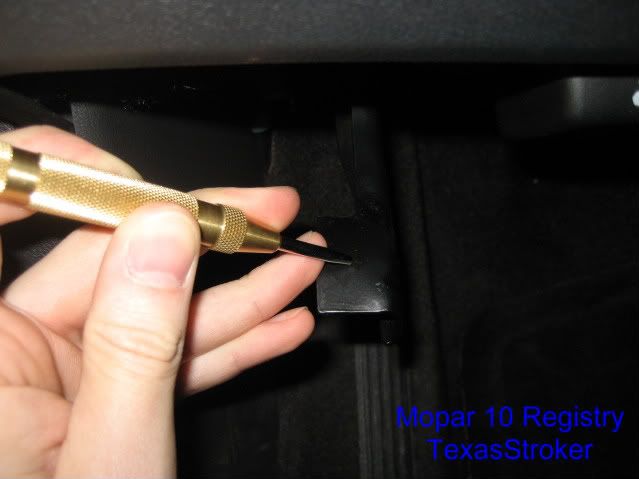
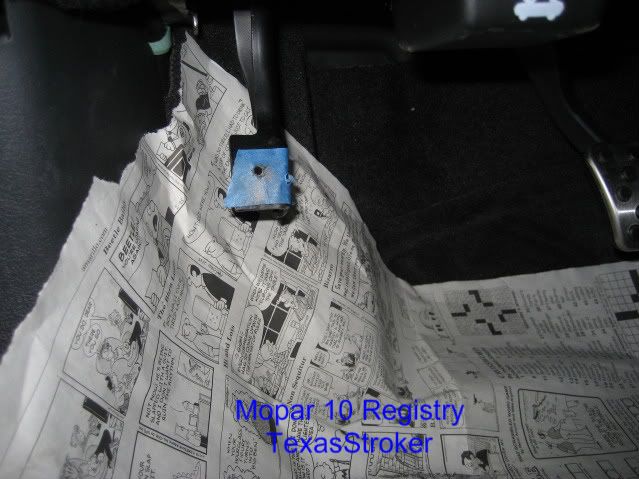
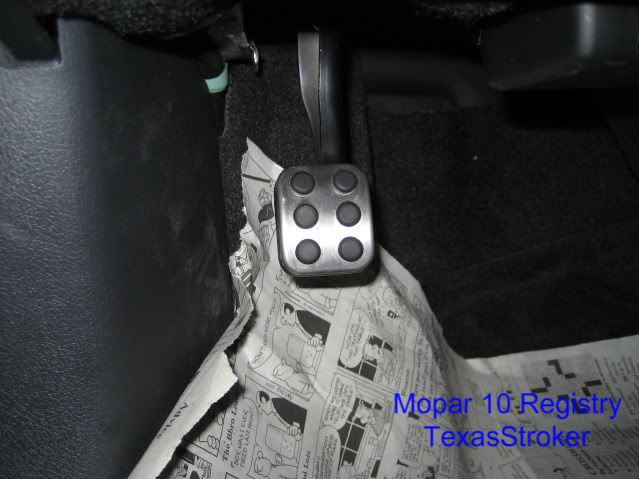
Center punch your marking and cover the pedal with some painter's tape to avoid scratching the finish if the bit walks. I also reccommend you put down some newspaper or plastic bag to collect the shavings...this makes clean up much easier.
Find the center punch and drill.
Now, you can go a few different routes here...You could river the plate to the pedal and wedge the pedal pad over it for a permanent install, or you could do like I did and use a small, machine screw and nut to cinch everything down.
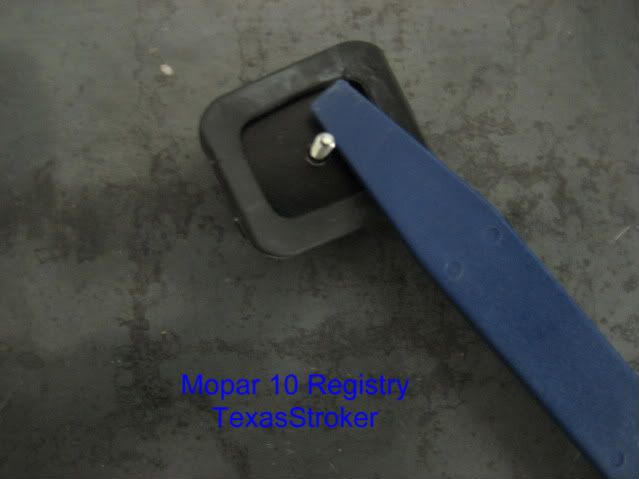
What you want to do with the machine screw is slide it through the drilled plate an then wedge the parking brake pedal pad over the head of the screw. This will secure the screw and makes the pedal+screw+plate a one piece unit.
Now you simply slide the screw through the drilled hole in the pedal and tighten up a nut. I ran a little longer of a screw in order to have a flat washer, lockwasher, and nylon lock nut to ensure it stays put.
The end installation looks great and if you ever decide to sell your car it can be removed in a few seconds.
This succesfully takes care of the pedal pad not fitting, makes for a semi-permanent install, and the screw can't be seen from the sides...it is a perfect set-up! Best of all, your parking brake pedal pad now matches your brake pad and accelerator pedal pad for a nice, trick installation.
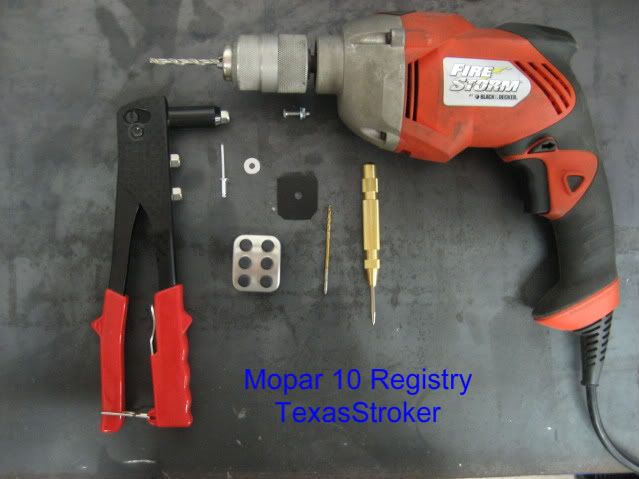 |
| Tools You'll Need, Pick to Rivet or Drill |
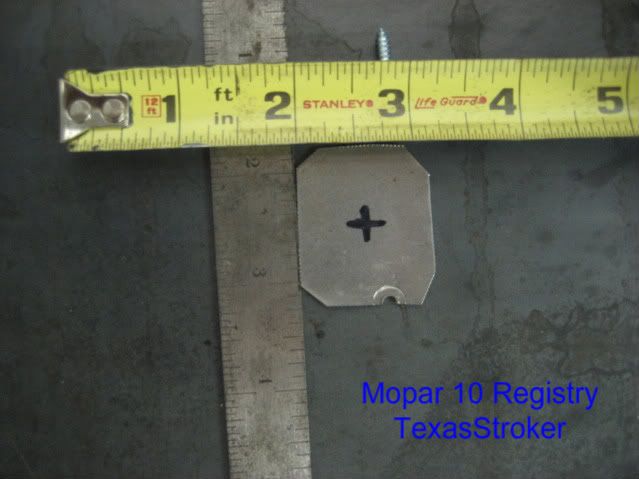 |
| Approximate Size of Mount, I Cut Mine from Scrap 20 Ga. |
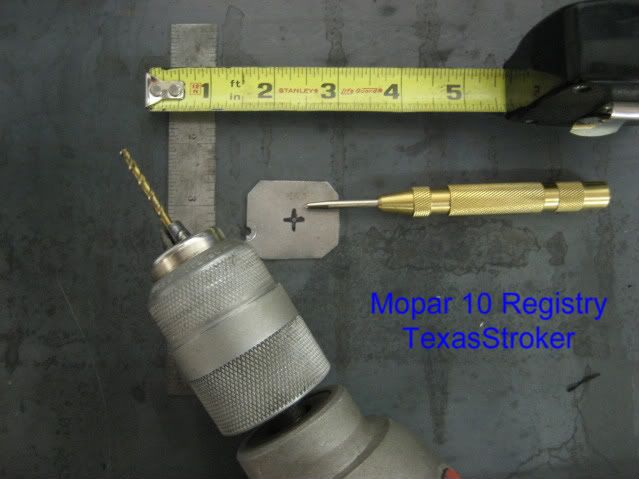 |
| Mark the Center, Punch, and Drill |
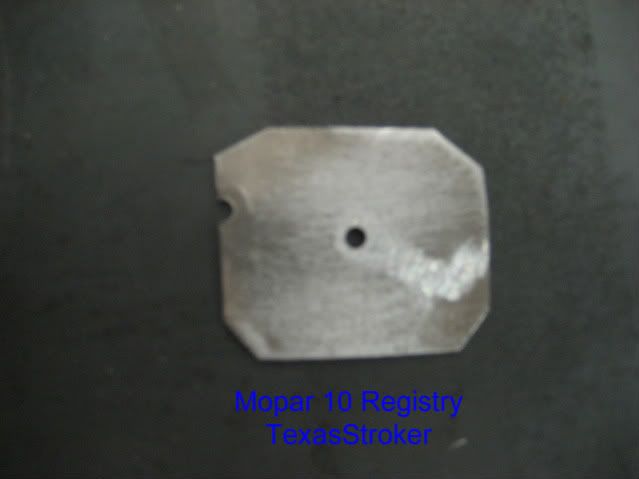 |
| Drilled Mount, Sanded and Ready for Paint |
 |
| Use the Plate to Find the Center and Mark It |
 |
| Center Punch the Center Point |
 |
| Tape the Pedal, Throw Down Some Paper to Catch Shavings |
 |
| Slide the Screw Through and Wedge the Pedal Pad in Place |
 |
| Tighten It Down and You'll Wind-up with This |
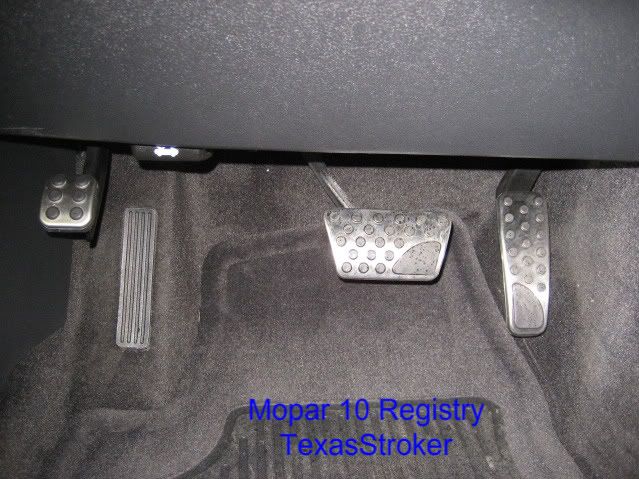 |
| All Three Bright Pedal Pads, Together at Last |
No comments:
Post a Comment